As trainers and coaches, we get asked this question from clients all the time. Am I doing enough? How do I keep progressing? How do I get the most out of my Megaformer workout? These are questions both newbies and long-term clients are asking themselves and us on a regular basis. Let’s try and provide some answers.
At Reform Athletica the Reform Method is one of the most popular classes clients are booking into, and with good reason. It’s a highly effective and challenging class for a beginner and the seasoned athlete alike. So let’s take a look at how we can accommodate both novices and long-term clients in the same class and make sure they are both adequately challenged depending on their ability in a Reform Method class.
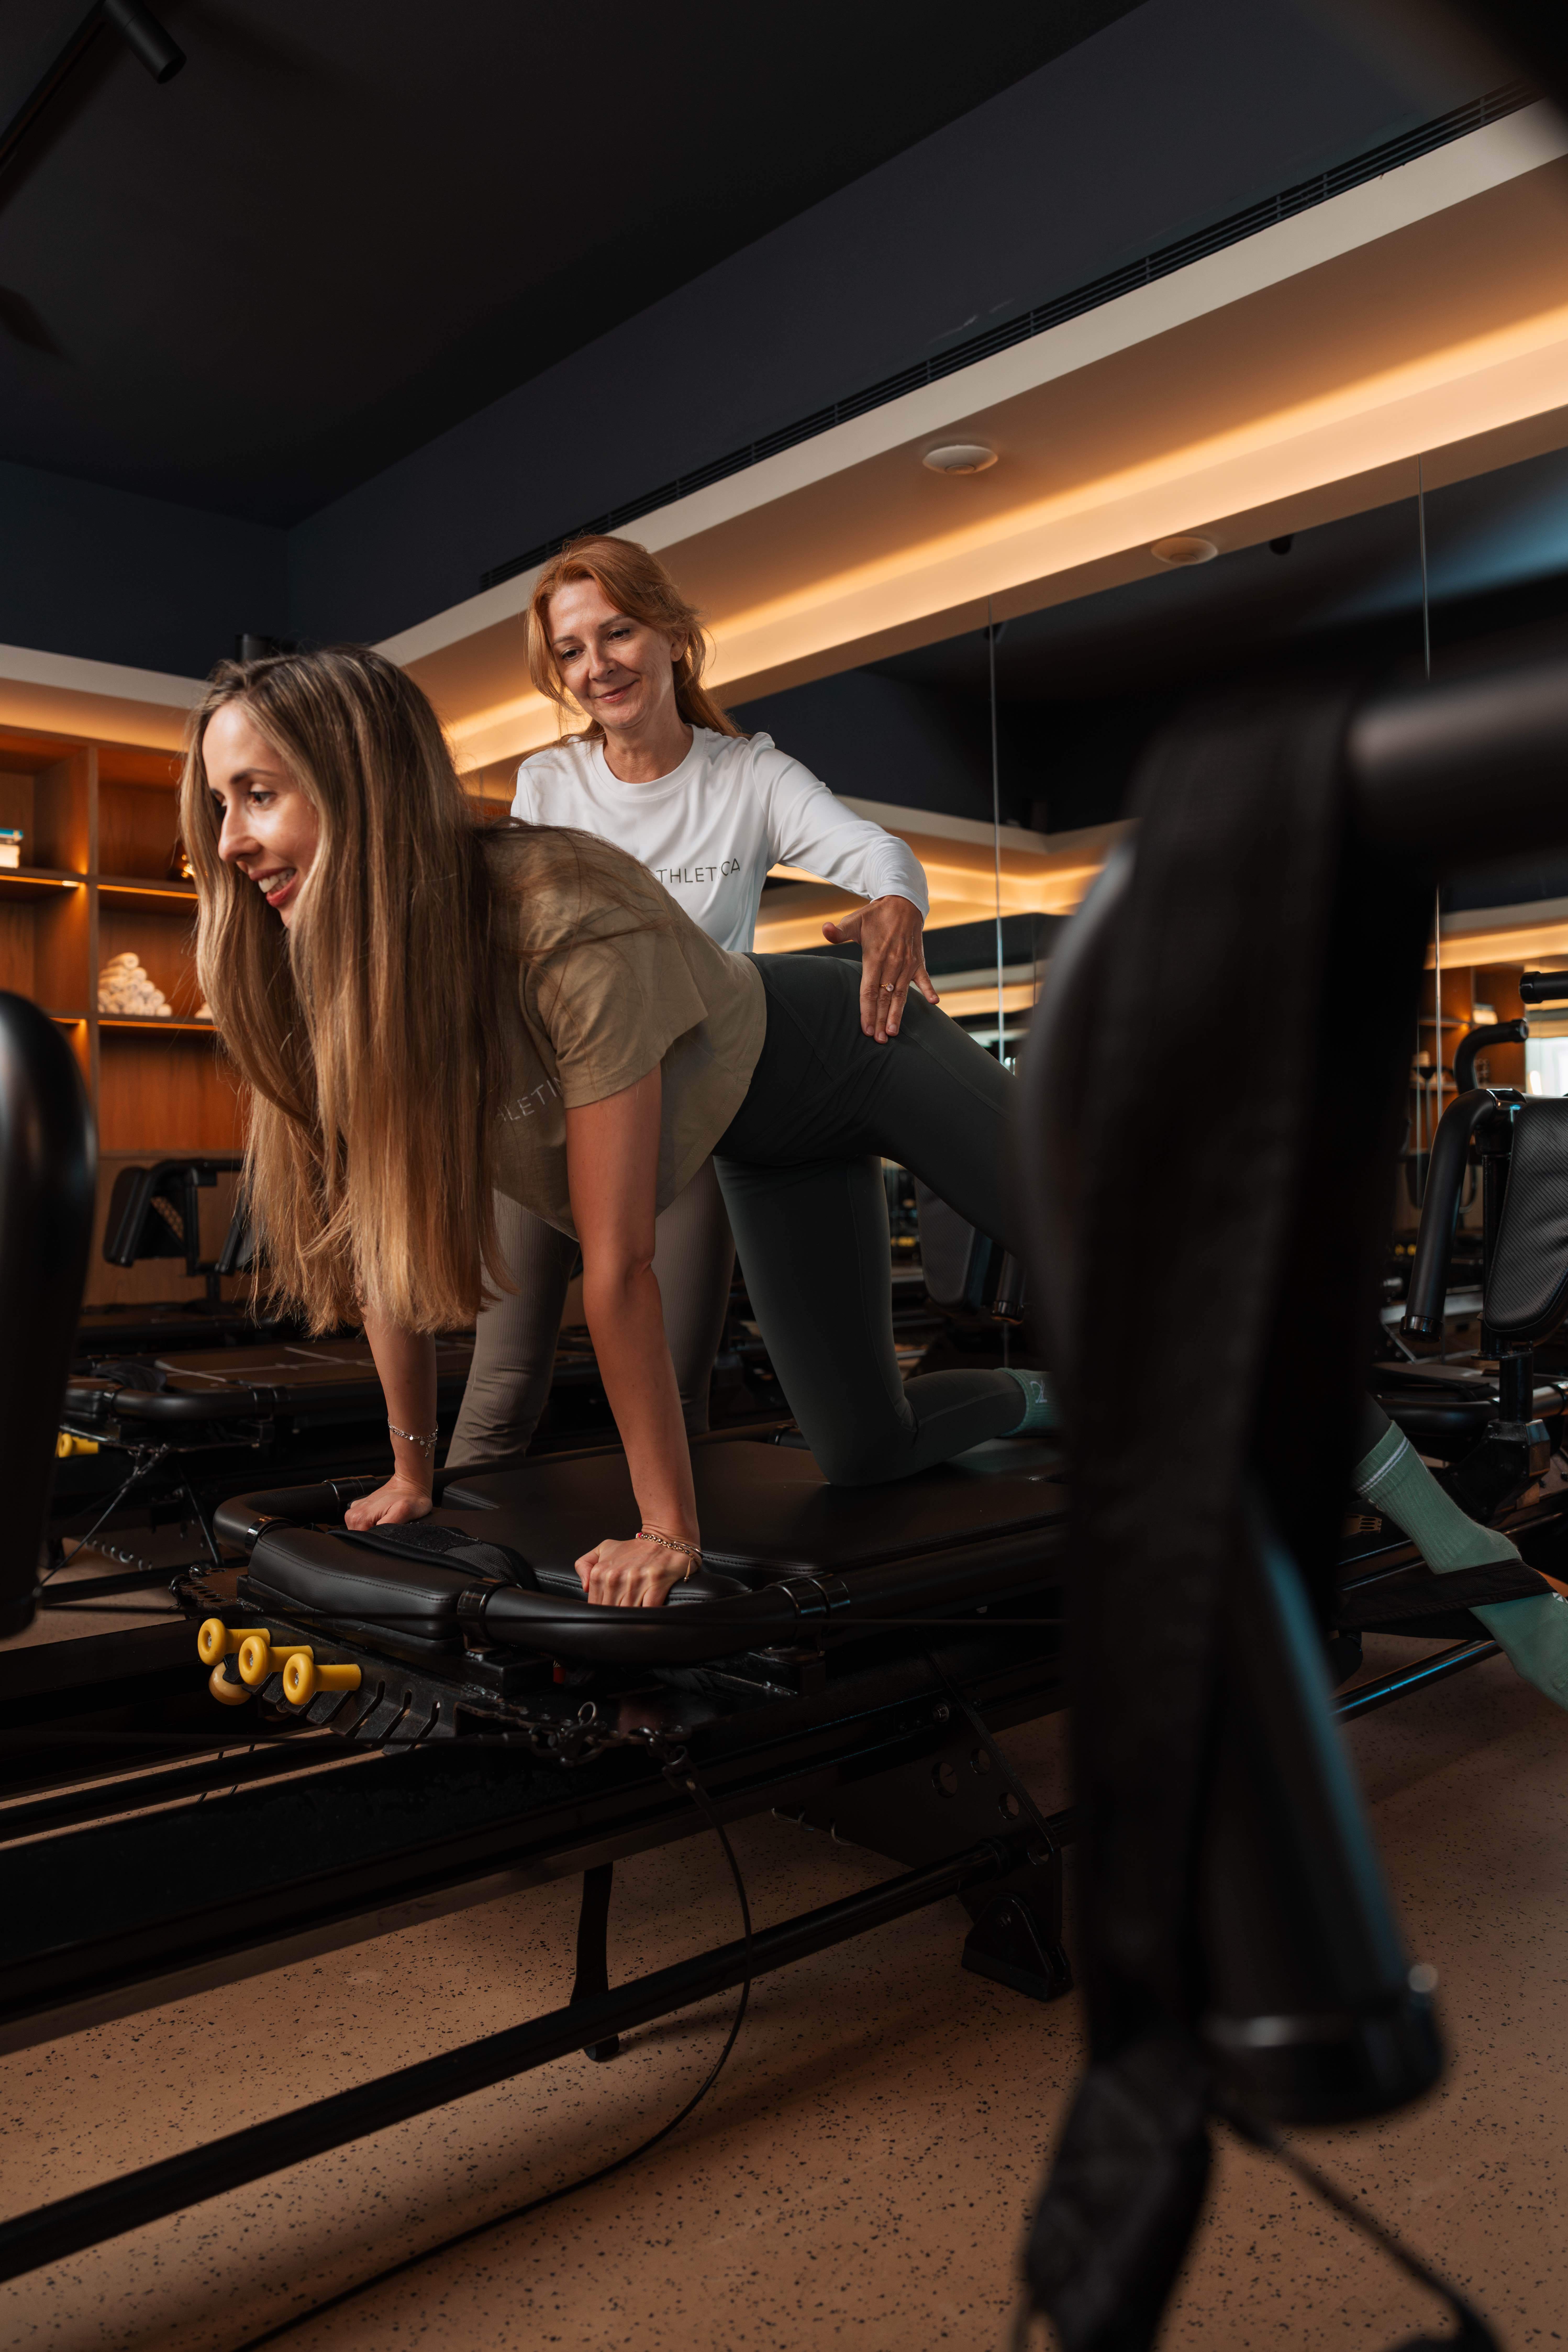
In order to delve deeper into the ‘how’ and ‘why’ let us give you a quick explanation of the Megaformer and how it works. You have the front platform (i.e. front facing exercises / regular movements), the carriage, the back platform (i.e. back facing exercises / reverse movements), the cables (used for upper and lower body movements) and most importantly the springs (i.e. the spring setting) which determine the level of assistance in regular front-facing movements versus the level of resistance in reverse back facing movements to keep it simple.
The two main differences in how challenging a move is, is the direction you are facing while performing it and what spring setting you have adjusted i.e. whether it’s a ‘regular’ move vs a ‘reverse’ move and how the spring setting affects the intensity of the exercise. So let’s look at the Front Platform Lunge (regular/front-facing) and compare it to the Reverse Platform Lunge (reverse / back facing).
Front Platform Lunge (regular / front-facing)
Looking at the regular platform lunge this movement is performed with 1 yellow spring standard. The working leg is placed on the platform and the secondary leg on the carriage. In this lunge variation, the 1 yellow spring is ASSISTING your lunge movement as it helps you to come back out of the bottom of the lunge to standing. As newbies/beginners often times struggle with balance and stability when first being on the Megaformer, the coach can add a second yellow spring to make the carriage more stable and add more assistance compared to the standard 1 yellow spring setting and in turn make it easier for the client to perform the exercise with proper form and adequate and controlled tempo throughout.
For an experienced client, this lunge variation can be made more challenging by for example adjusting the position of the secondary leg on the Megaformer to be further back on the carriage to reduce spring assistance as well as adding isometric holds or playing with the tempo the exercise is performed at i.e. the slower the exercise is performed at the more control and strength it requires, hence making it more challenging. So next time your coach asks you to go slower, go lower or hold it longer, you know why.
Now to contrast this setup, we have the option on the Megafomer to perform exercises in ‘reverse mode’ i.e. facing the back of the machine. To highlight some of the differences here we will look at the Reverse Platform Lunge as an example.
Reverse Platform Lunge (reverse/back facing)
The reverse platform lunge is performed with 1 yellow spring standard. This lunge is performed with the working leg placed on the back platform and the secondary leg on the carriage. In this lunge variation the 1 yellow spring is RESISTING your lunge movement as it works against you coming out of the bottom of your lunge to standing. So this setup is far more challenging compared to the front-facing regular platform lunge as the spring is RESISTING versus ASSISTING your lunge movement. For Lagree or Reform Method novices performing this lunge variation, the coach can hand the client the back cables to use so the client can assist with the leg movement by using the cables for support and assistance. In case the client still does not feel comfortable or ready to perform the reverse lunge it can be modified and performed on the front end with the assistance of the springs.
For experienced clients, the reverse platform lunge can be progressed by moving even slower and with more control. The Lagree Method is all about that slow tempo. Once that is mastered clients can be challenged or challenge themselves by adding a second yellow spring to add more RESISTANCE and in turn making it more challenging for reverse movements.
Having said that though, the main priority is always to move with good form and tempo so as to get the most out of each exercise. Using momentum on the Megaformer to perform any Lagree exercises is to be avoided, both in front-facing and reverse movements.
These guidelines above apply to all lighter spring setting exercises such as platform/carriage lunges, standing / kneeling inner thighs, and core movements such as pikes, wheelbarrows and side planks to name a few.
For all other movements and exercises that use the heavier spring settings (i.e. 3 yellow and above and yellow/red spring combos) the adjustments are a little more straightforward as ‘what you see is what you get for the most part.
So if you’re performing a tricep overhead extension or tricep kickback using the cables then around 3 yellow springs is your standard setting. If you want to work harder and can perform the exercise with good form and tempo, then adding a spring (i.e. going to 4 yellow springs) will make it more challenging. However if you feel the standard 3 yellow setting doesn’t allow you to perform the movement with good form and adequate tempo, then maybe you need to reduce the springs to make it easier. This also applies for the heavier leg exercises such as skaters, leg presses, and runners or spider lunges to name a few.
Now obviously the coach is there to adjust and monitor the intensity for you, but don’t forget that you yourself also need to assess your movement and intensity, so if something feels too easy/hard then ask yourself and/or your coach how you can make things more challenging or how you can modify things to make them more achievable. Most of the time your coach will already do the necessary to adjust things for you, but if in doubt double-check and make sure you understand how to make each exercise easier or harder.
So next time you are in class, remember to pay attention to the spring setting the coach advises for the exercises and see if you are ready to adjust things up to challenge you more or maybe you have to adjust things down to make you move better and with more control.
Remember whenever you are challenging yourself and working OUTSIDE YOUR COMFORT ZONE (necessary to make continuous and consistent progress) there will come a time when your form breaks down and that is ok. When this happens it is your cue to go for the famous ‘RESET’. The ‘reset’ is not meant to be a break to a) grab water, b) look at your phone or c) look around the room and wait for the exercise time to finish….no, no, no! Of course, you can grab water if you need, but the ‘reset’ is really your opportunity to take a quick physical and mental break and reassess your form, adjust your position, take a breath, maybe adjust the springs if necessary and get back into performing quality repetitions for the remainder of the exercise…and who knows maybe you need another ‘reset’…it’s all good, with time they will become less as you get stronger and more comfortable with the work-out. And if you never ever ‘reset’ in any particular exercise then maybe you are a MACHINE already (and I know there are a few of you for sure) or maybe you need to look at what you are doing and challenge yourself a little bit more.
So happy training and next time you feel something is a little too easy or too challenging be ready to adjust your settings and see if you can improve your movement and workout. Here is to getting stronger both mentally and physically.


